Way 1: Disable delete confirmation dialog in Local Group Policy Editor.
Step 1: Press Windows+R to open Run, type gpedit.msc and click OK to turn on Local Group Policy Editor.

Step 2: Open User Configuration/Administrative Templates/Windows Components/File Explorer/Display confirmation dialog when deleting files.

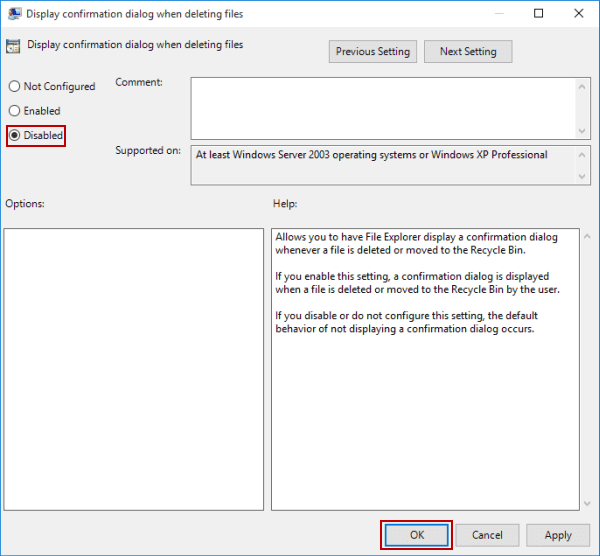
Step 3: Choose Disabled and tap OK to disable the setting.
Tip: If the setting is not configured, the same goal can be achieved.
Way 2: Disable delete confirmation dialog in Recycle Bin Properties.
Step 1: Right-click Recycle Bin and choose Properties on the menu.

Step 2: Deselect Display delete confirmation dialog and hit OK in the Recycle Bin Properties window.

Related Articles:
Hi. Sorry to say that this no longer works with version 1909 of Windows 10. I did both methods and neither work. :-( Any thoughts, suggestions? I hate the delete confirmation.
ReplyDelete